Tsoureki
Sweet Greek Easter Bread
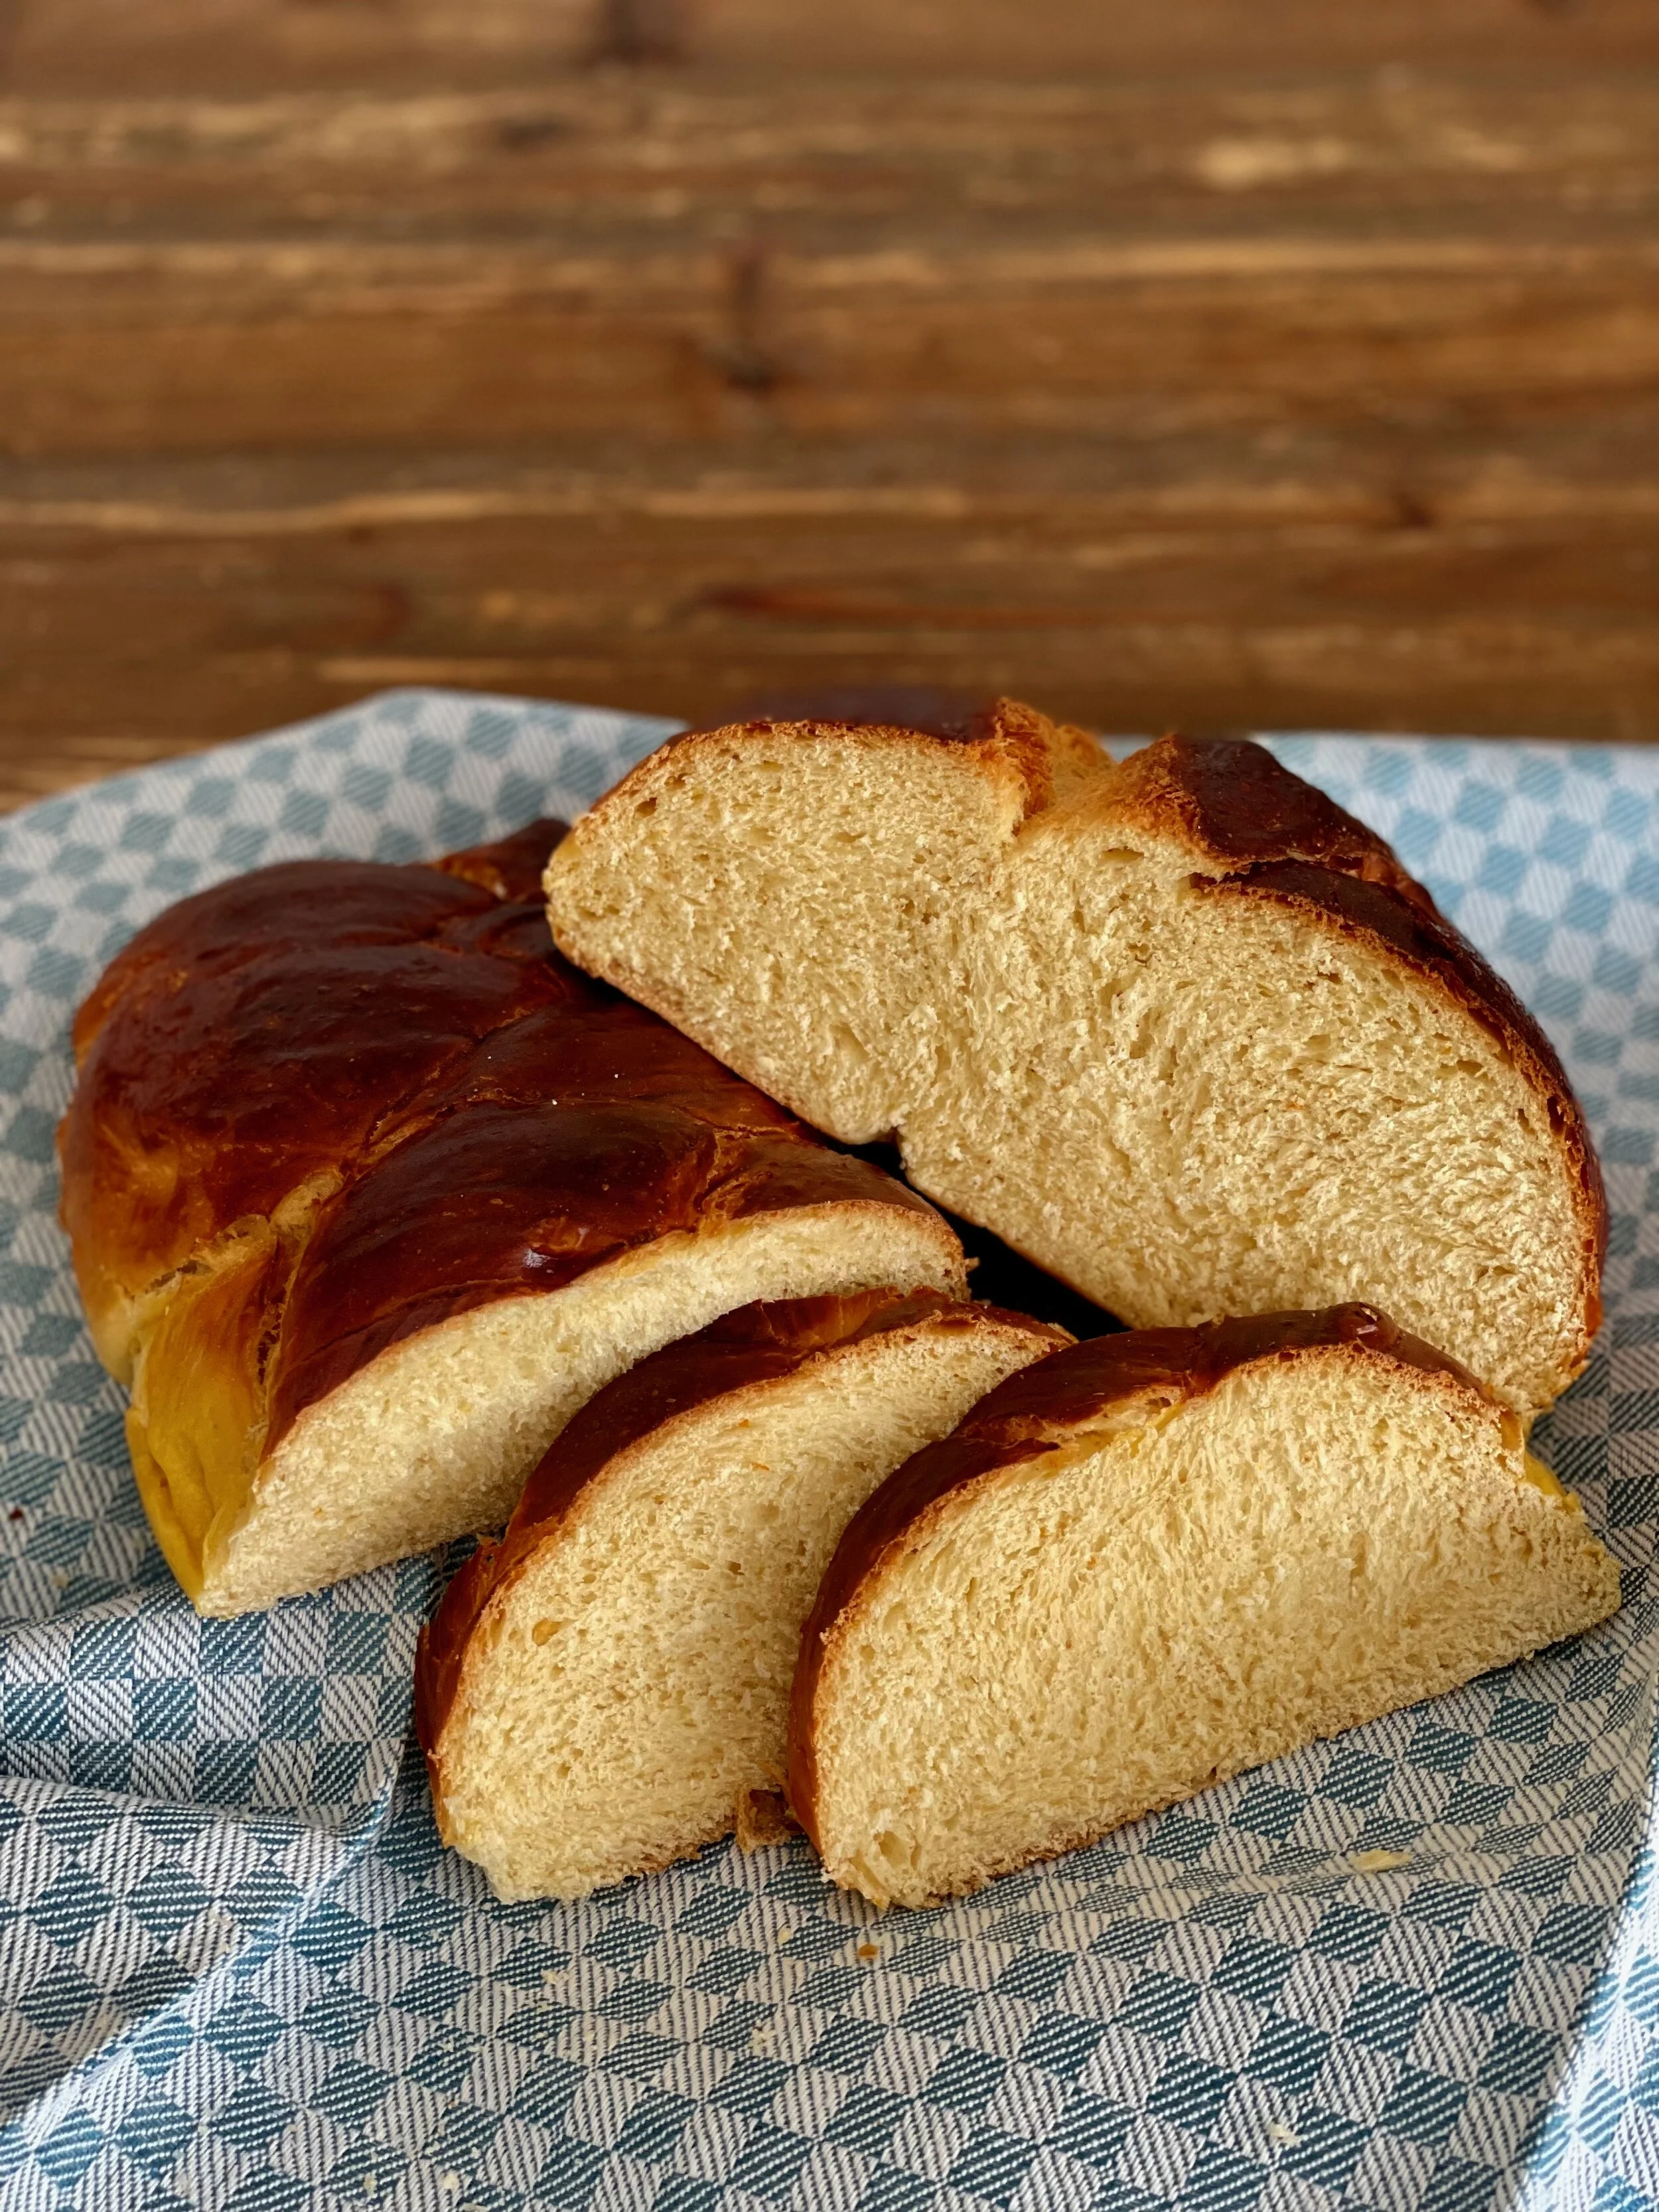
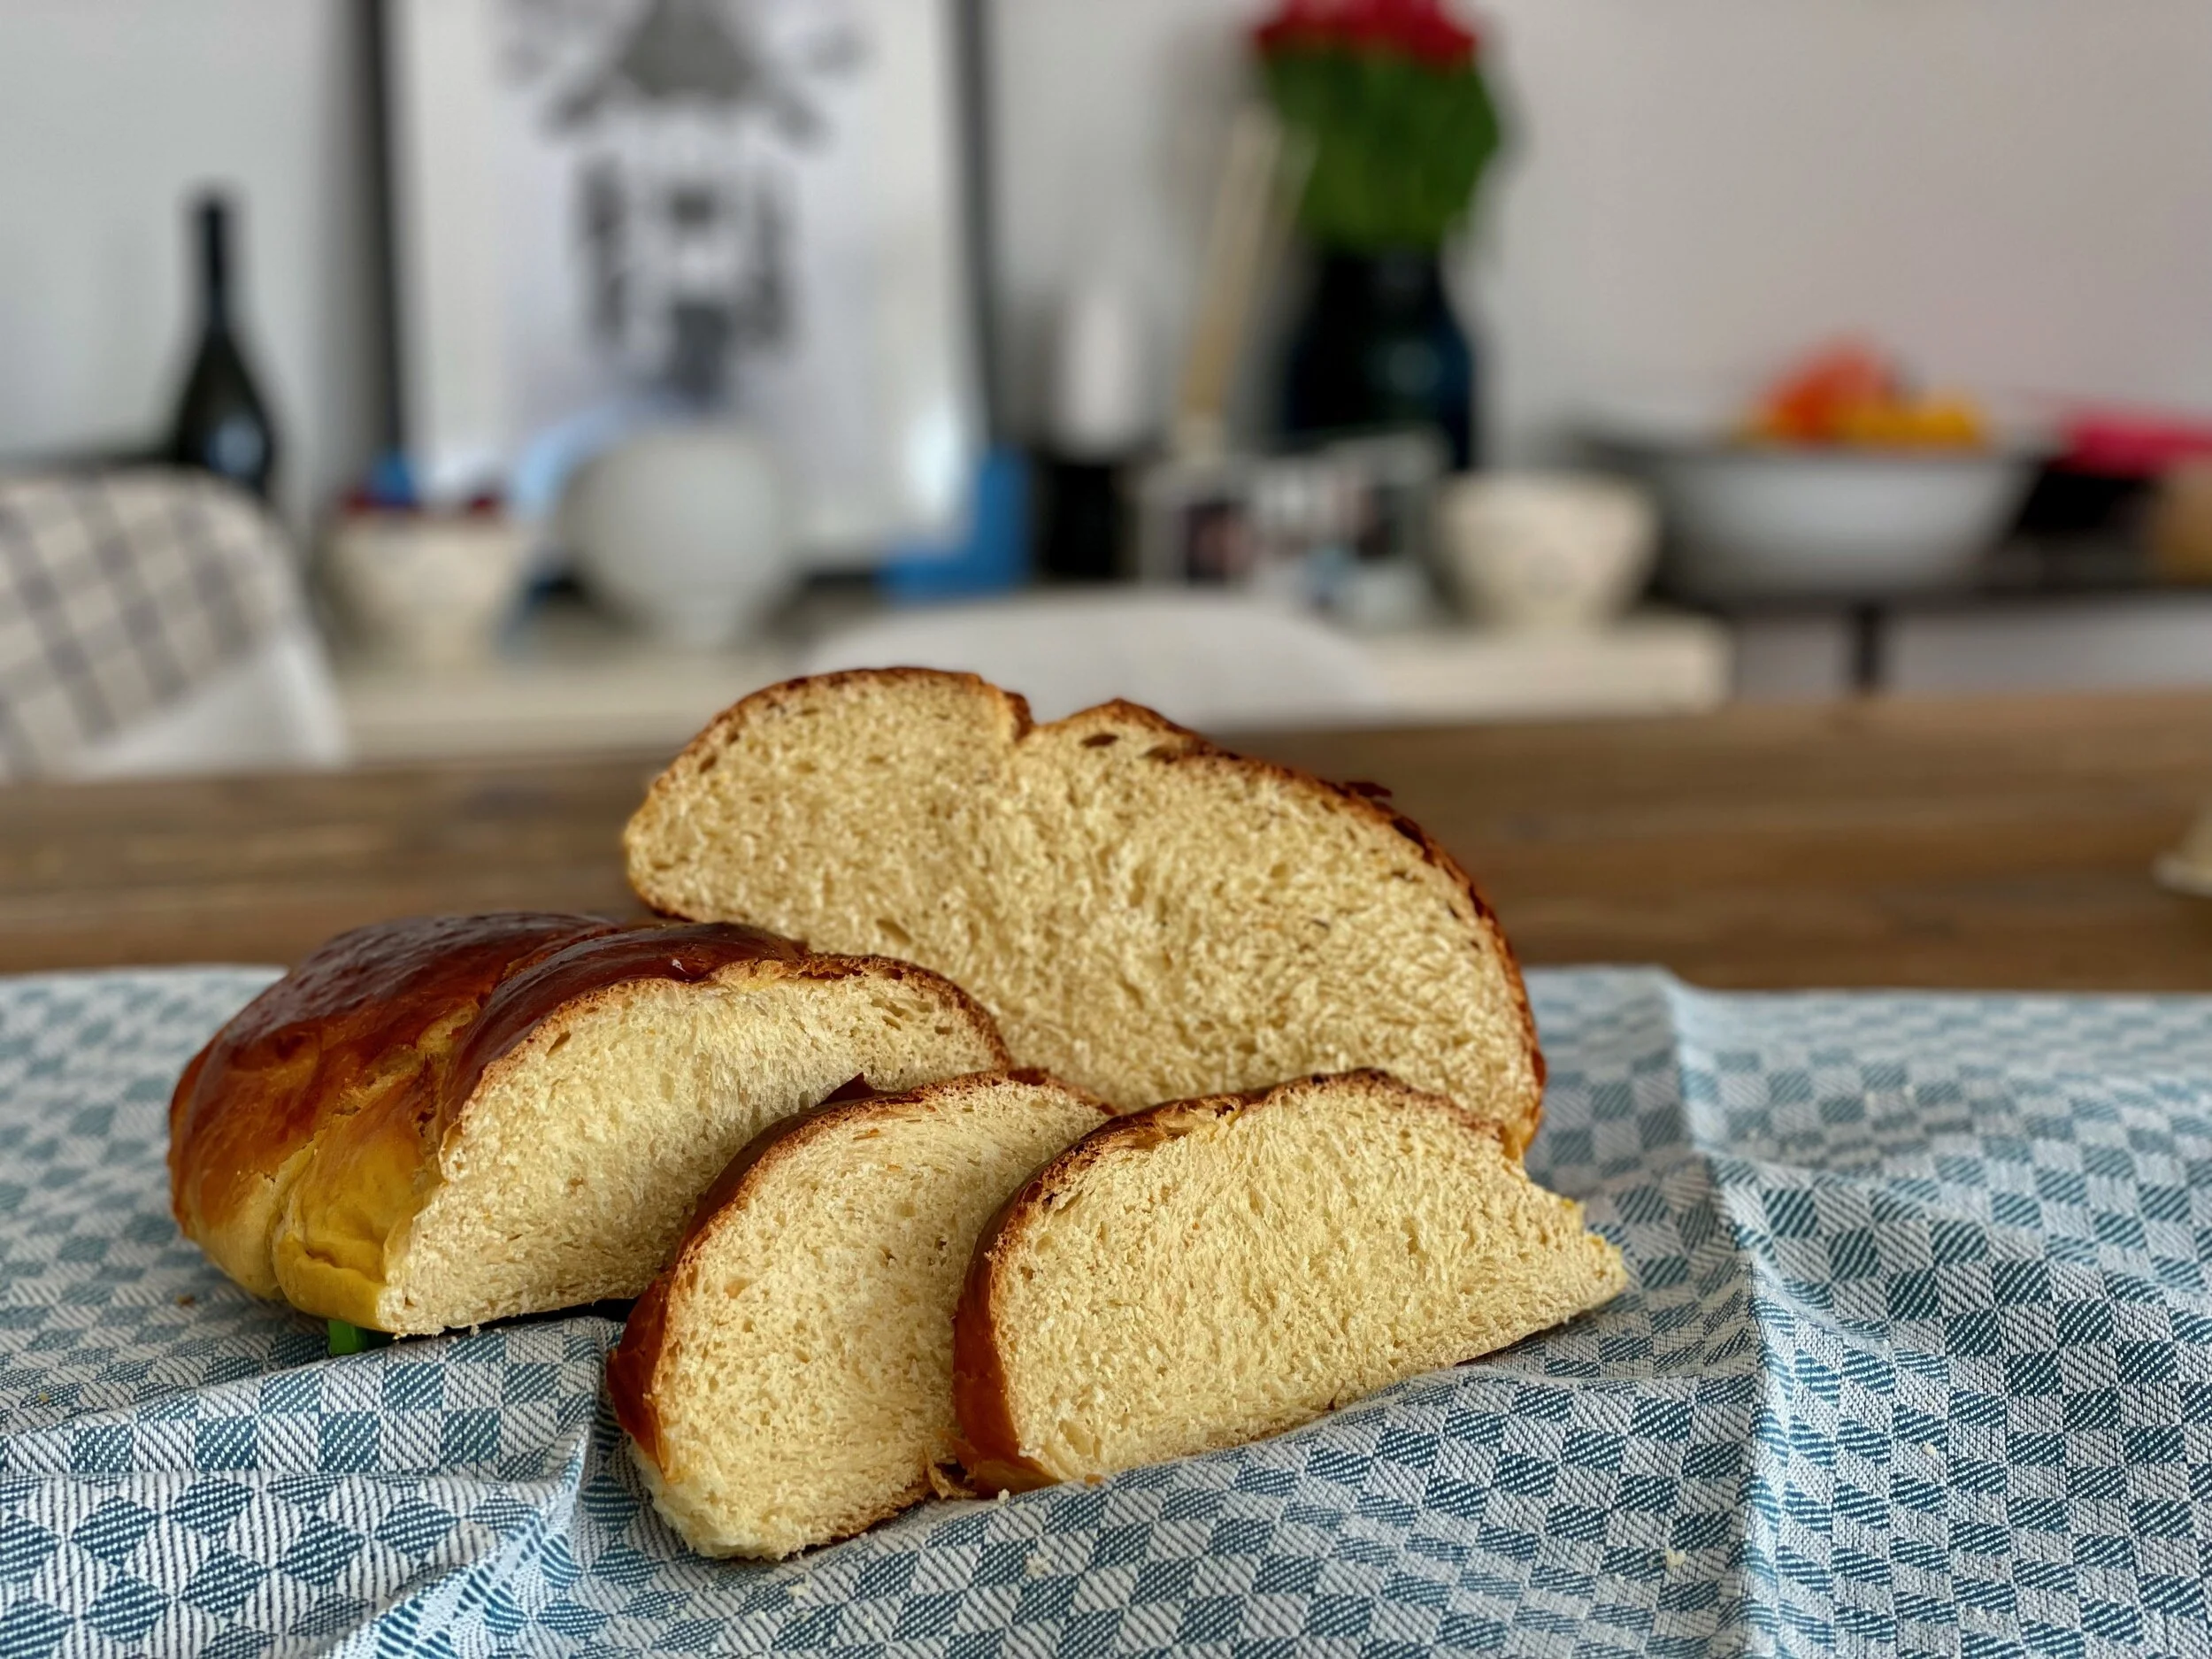
Tsoureki is a sweet traditional Greek bread that we bake for Easter. In reality if you go to a Greek bakery you’ll find this delicious bread all year round and it’s often eaten for breakfast.
If you look at it’s structure, ingredients and colour it reminds a lot of brioche or challah. The main difference comes from the spices used: mahlab and mastic.
Ground Mahlab Kernels (or Mahlepi in Greek) that come from a specific cherry variety. The mastic is a resin that comes from the mastic trees that grow on the Greek island of Chios. The combination of these 2 ingredients will give you the deliciou sand recognisable Tsoureki flavour. Don’t be alarmed, these ingredient can easily be found online or in some good old corner shops.
In this recipe I also used the Tangzhong method here to add additional softness to my tsoureki as well as a longer shelf life. Tangzhong is a Japanese technique that involves cooking a mix of flour and water or milk at 65C. This will gelatinise the starch helping your dough hold onto water for longer giving you a softer and moist Tsoureki.
Tangzhong is normally made with 5 to 10% of the flour content of the recipe and the ratio is roughly 1 part of flour and 5 parts of water. These quantities need to be subtracted from the total amount of flour and milk/water in your recipe which makes it pretty easy.
Another thing to mention is that you need to have a stand mixer to do this as you have to knead for quite some time to achieve a decent gluten development. It’s not impossible to achieve by hand it just requires more time and skill (I am thinking slap & fold method). Your stand mixer will overheat and at moments you might think it’s about to take off but, trust the process!
Ingredients
Pre-Ferment
20g fresh yeast
100 water
150 strong flour
Tangzhong
20g flour
100g milk
Remaining Ingredients
10 drops mastic (you can use 10g of crushed mastic gum alternatively)
10g mahlab
60g orange juice
Orange zest
70g butter
480g strong flour
180g eggs
190 caster sugar
Egg Wash
Egg yolk & double cream (or milk)
Step by Step
Mix the preferment ingredients in a bowl to form a dough. Cover with cling film and let it rest for 1h
In a pan mix the tangzhong ingredients well and ensure there are no lumps. Put it on the hob and mix until you get to 65C. If you don’t have a thermometer don’t worry! You need to get to a point where the mix starts thickening and make sure you take it off the heat before it reaches the boiling point
In a separate bowl mix the orange juice with the zest, the mahlab and mastic
Melt the butter and set it aside to cool down a bit
In your stand mixer add the eggs and sugar and beat them at medium/high speed until they are combined, pale and fluffy
Time to add in the egg and sugar mix your preferment, the tangzhong, the mix of orange juice and spices and the remaining flour. Change to kneading hook and mix for at least 10 min. This is because you need to develop the gluten the visual cue you are looking for is a smooth glossy dough (more in the cheats and tips section!)
Add in the melted butter and keep mixing for another 10 min. Don’t get alarmed, it will look awful as soon as you add the butter. Trust the process and give your stand mixer enough time
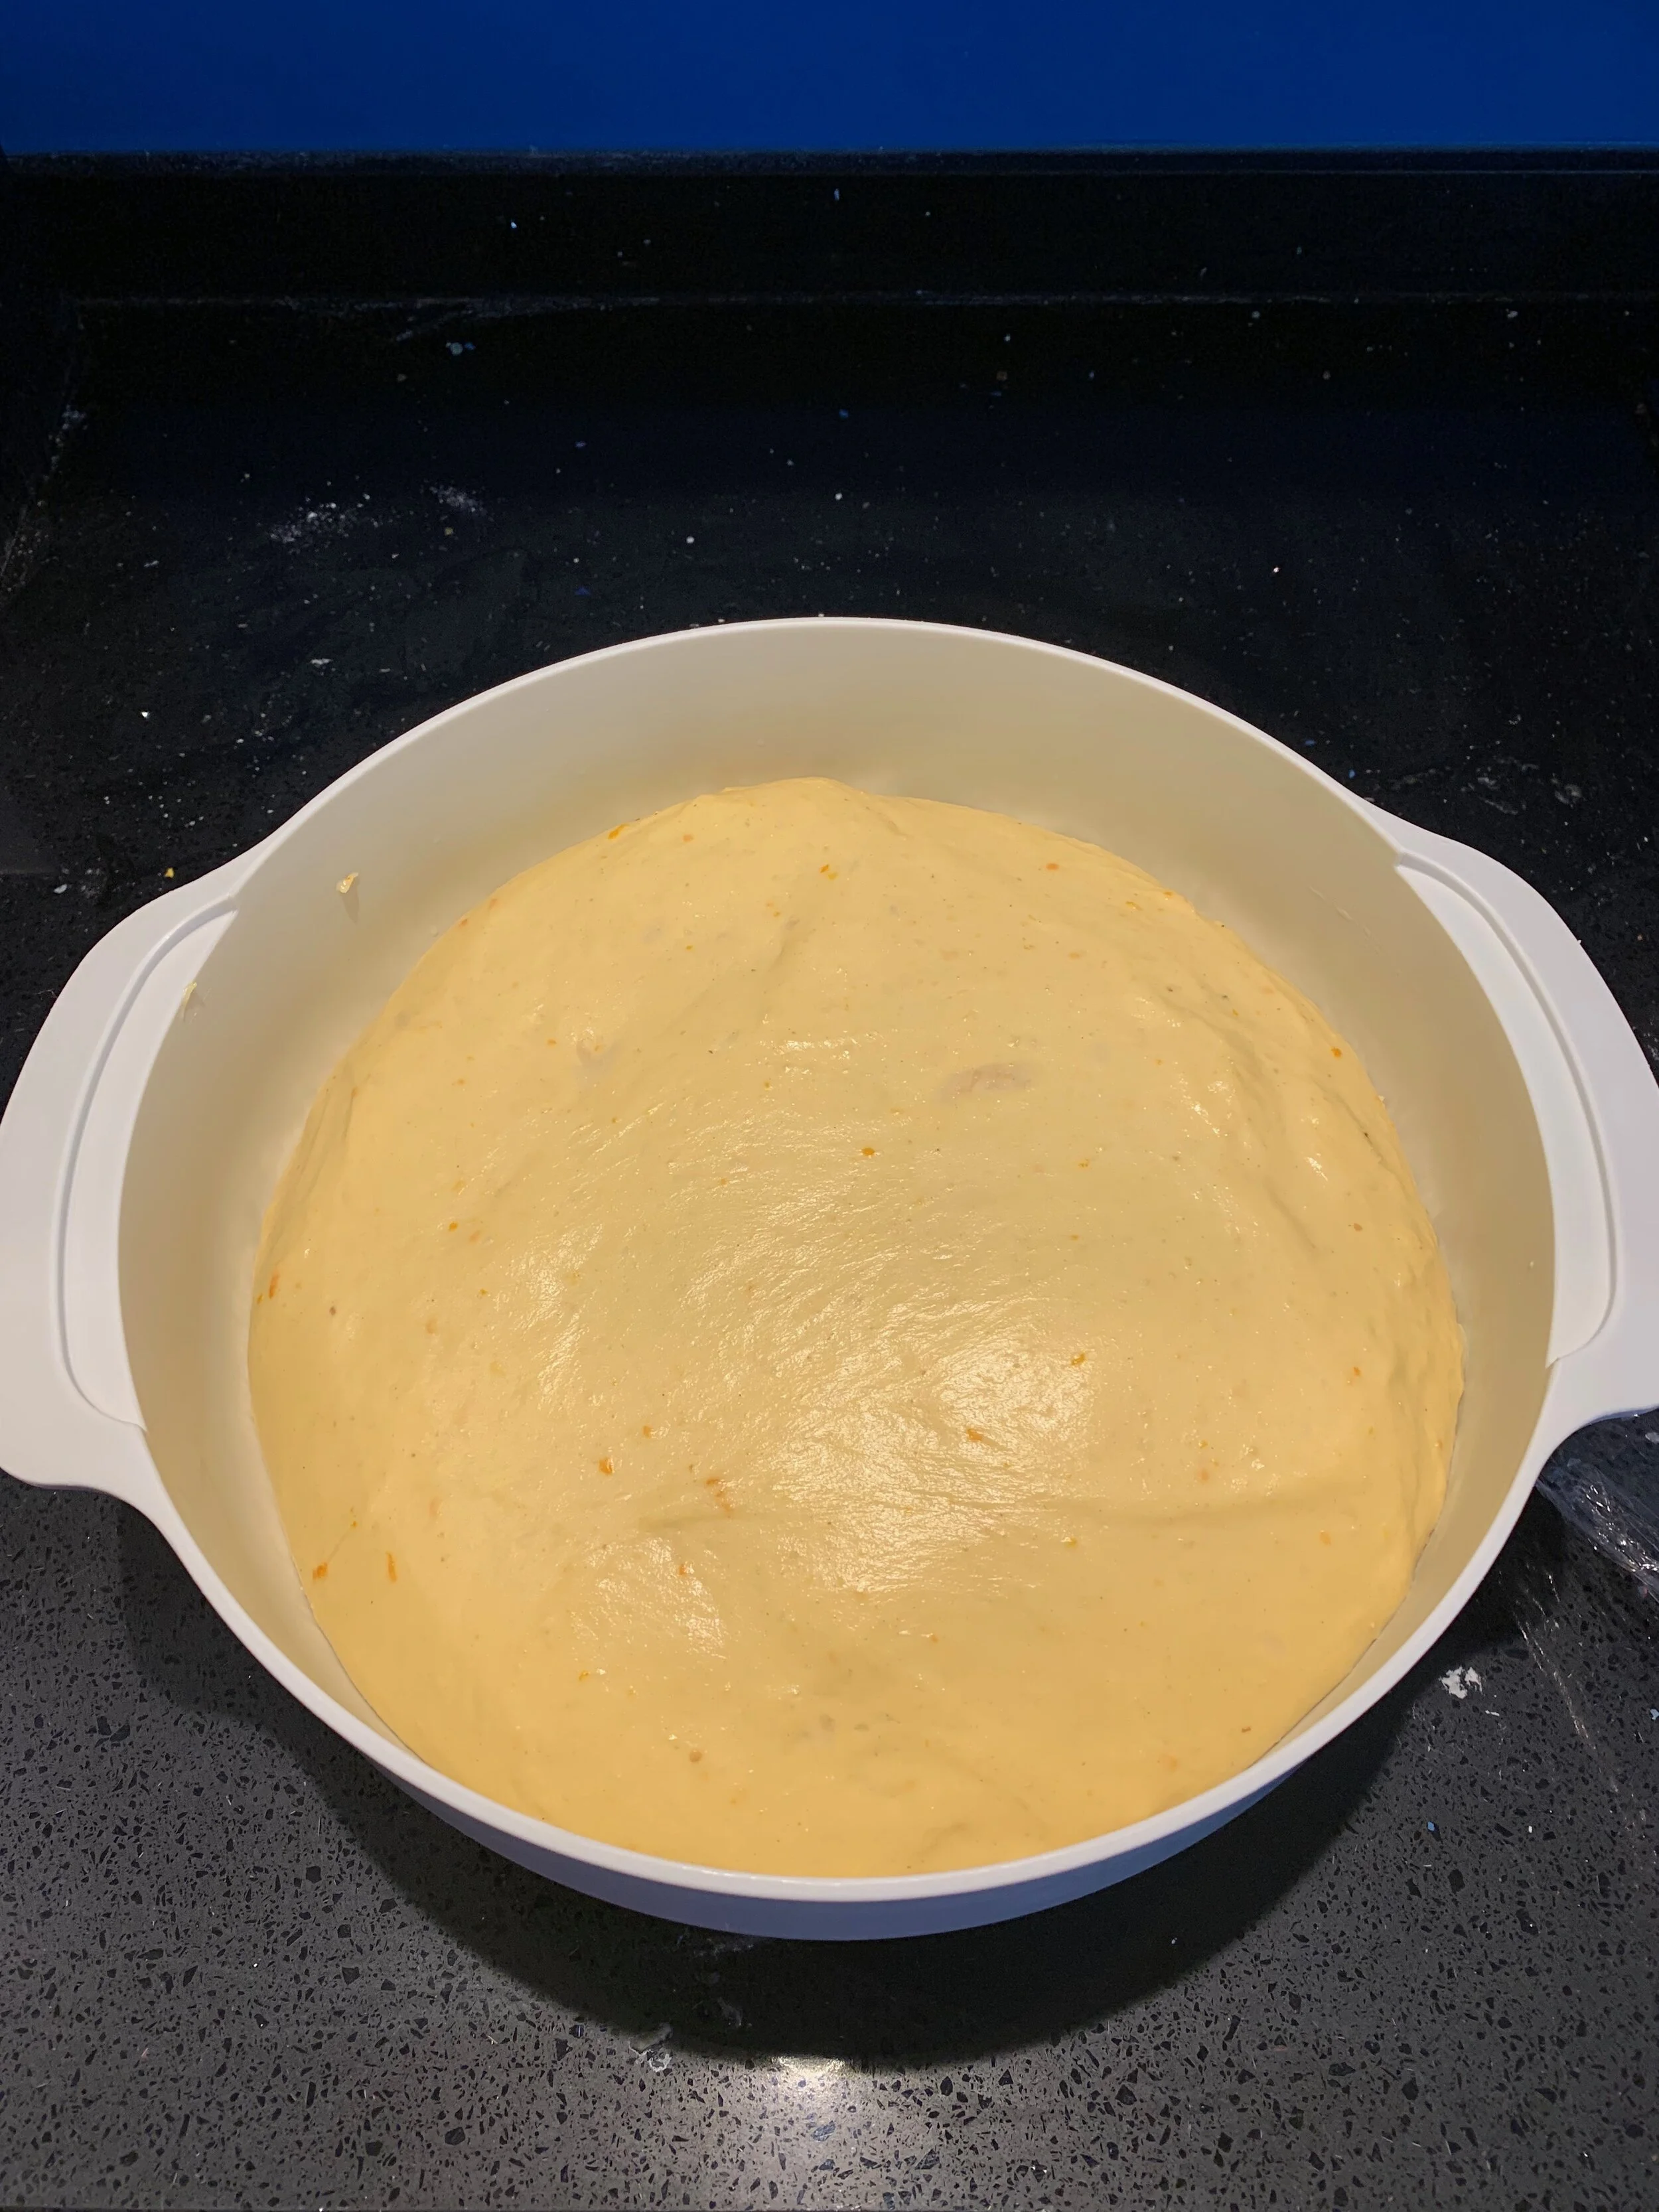
Once the butter is incorporated and the 10min have passed put your glossy sticky dough in a bowl, cover it with cling film and let it prove for 4 hours
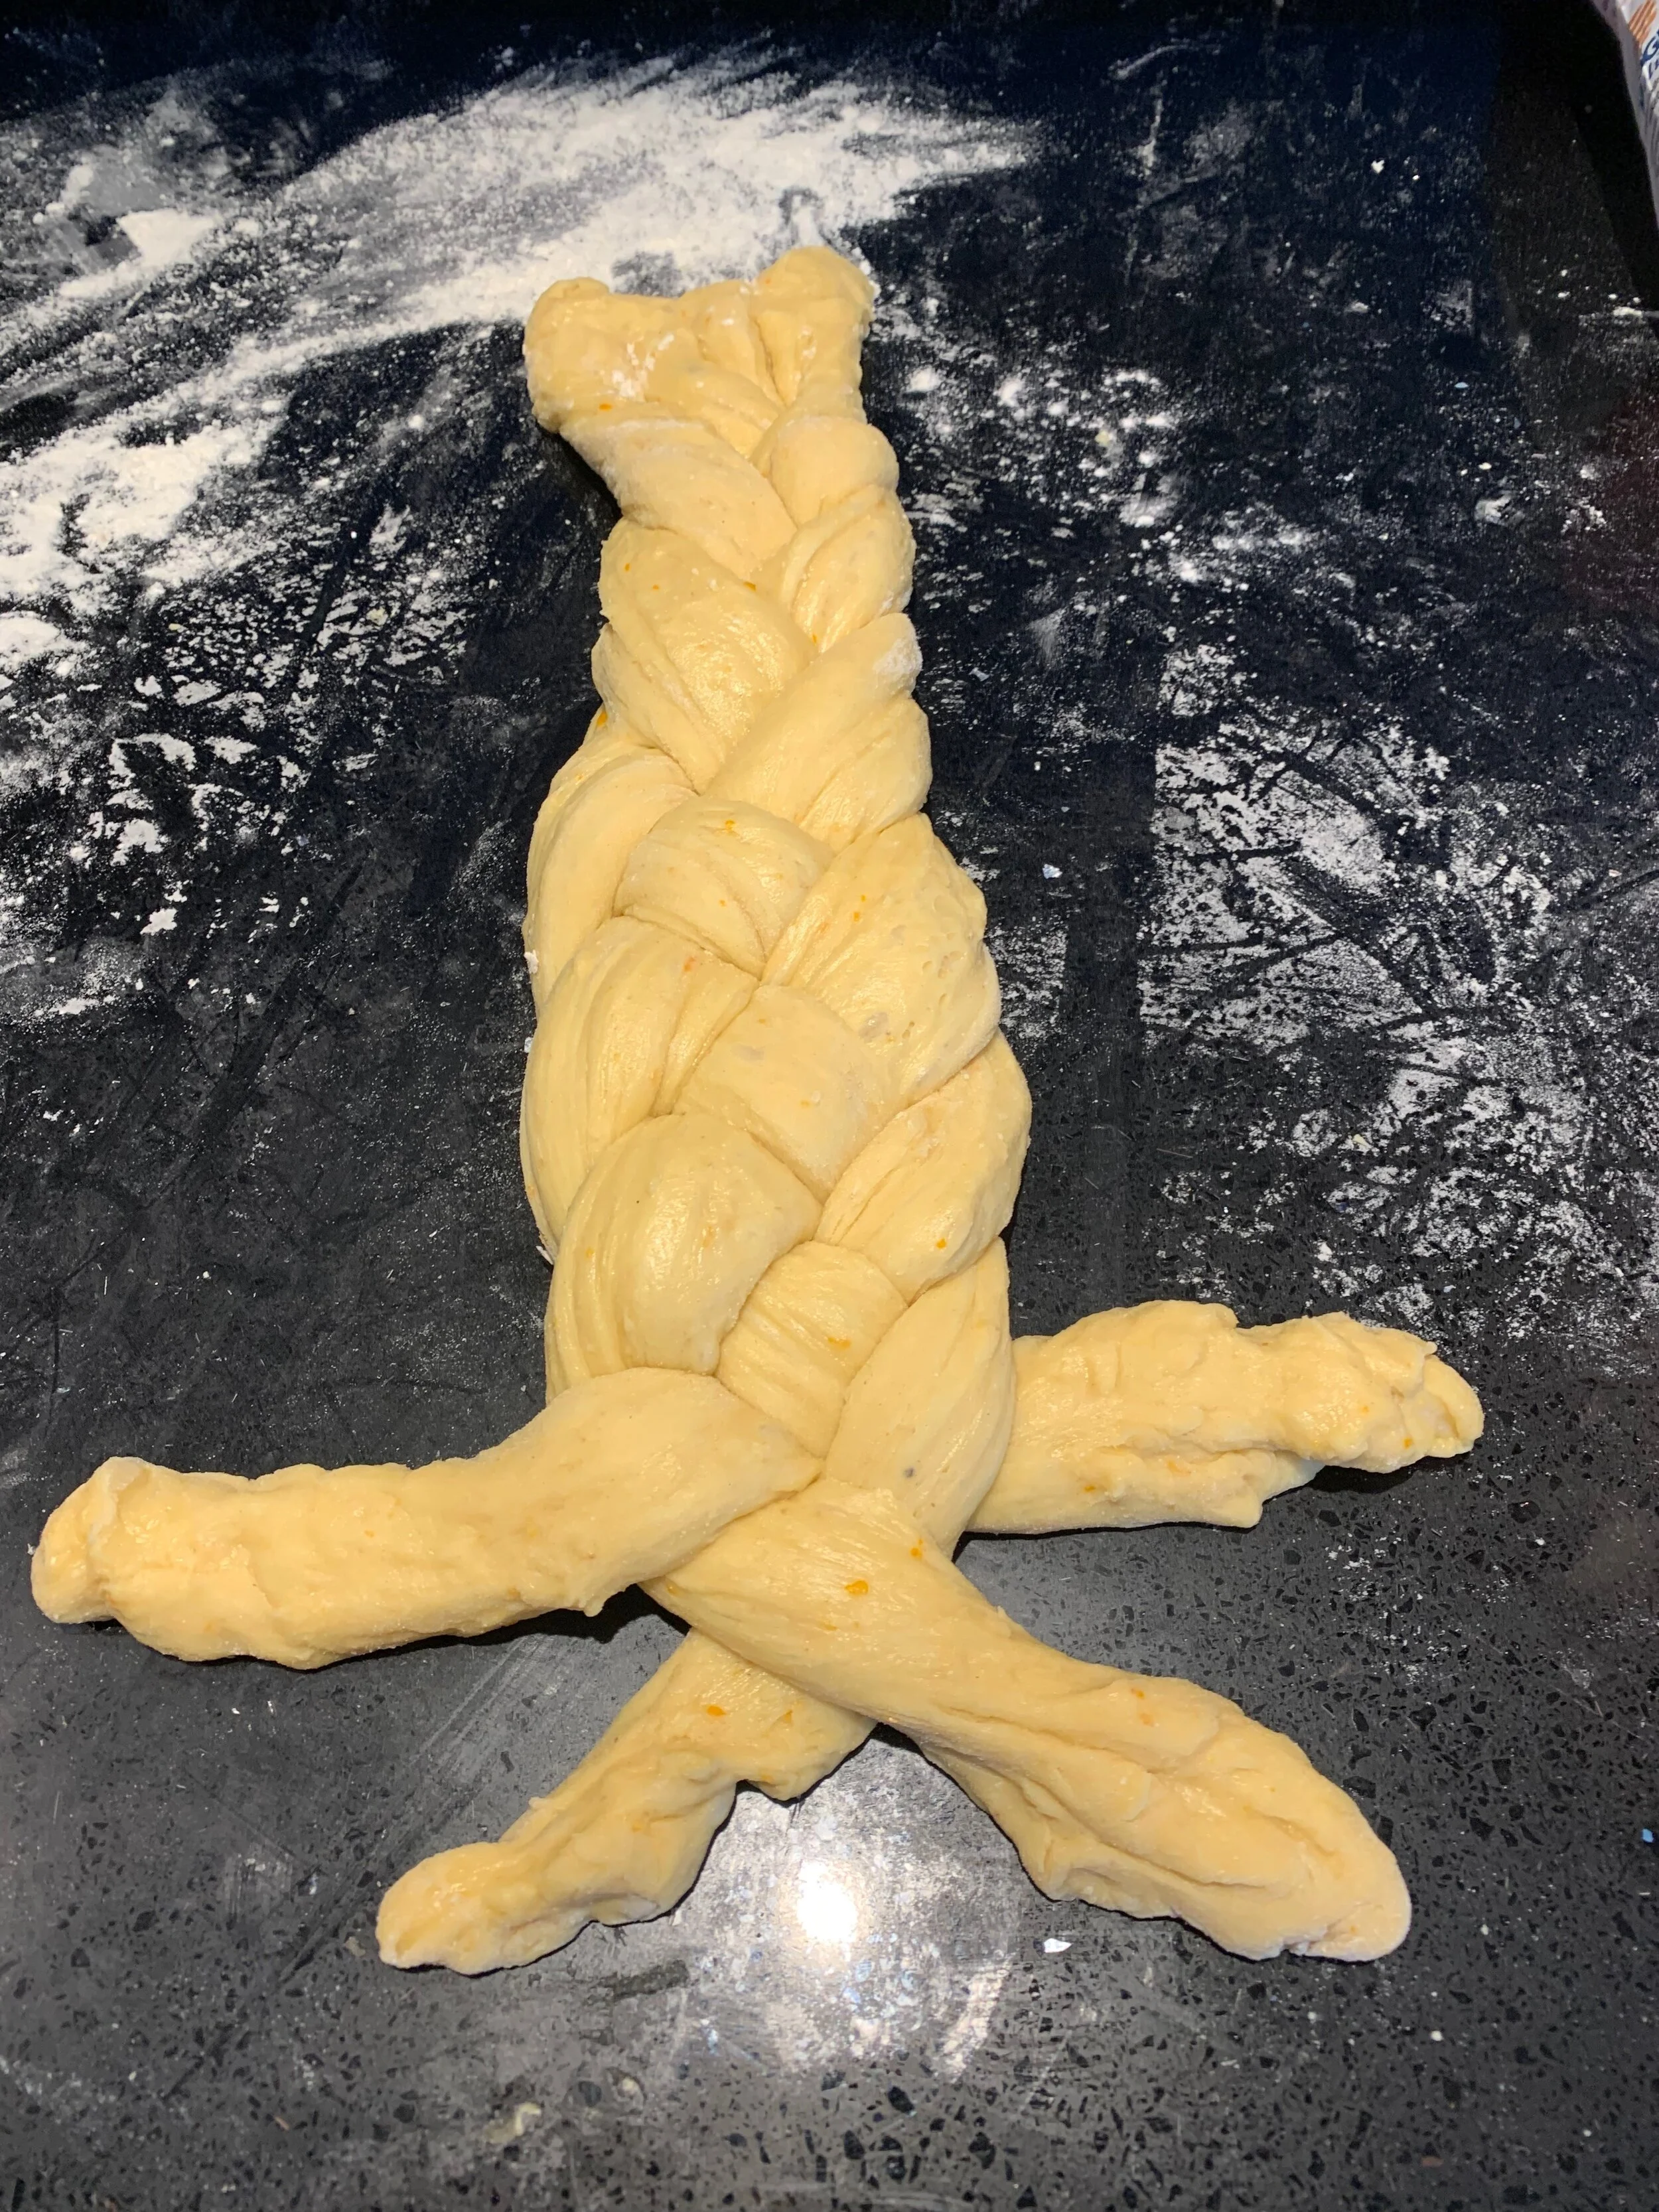
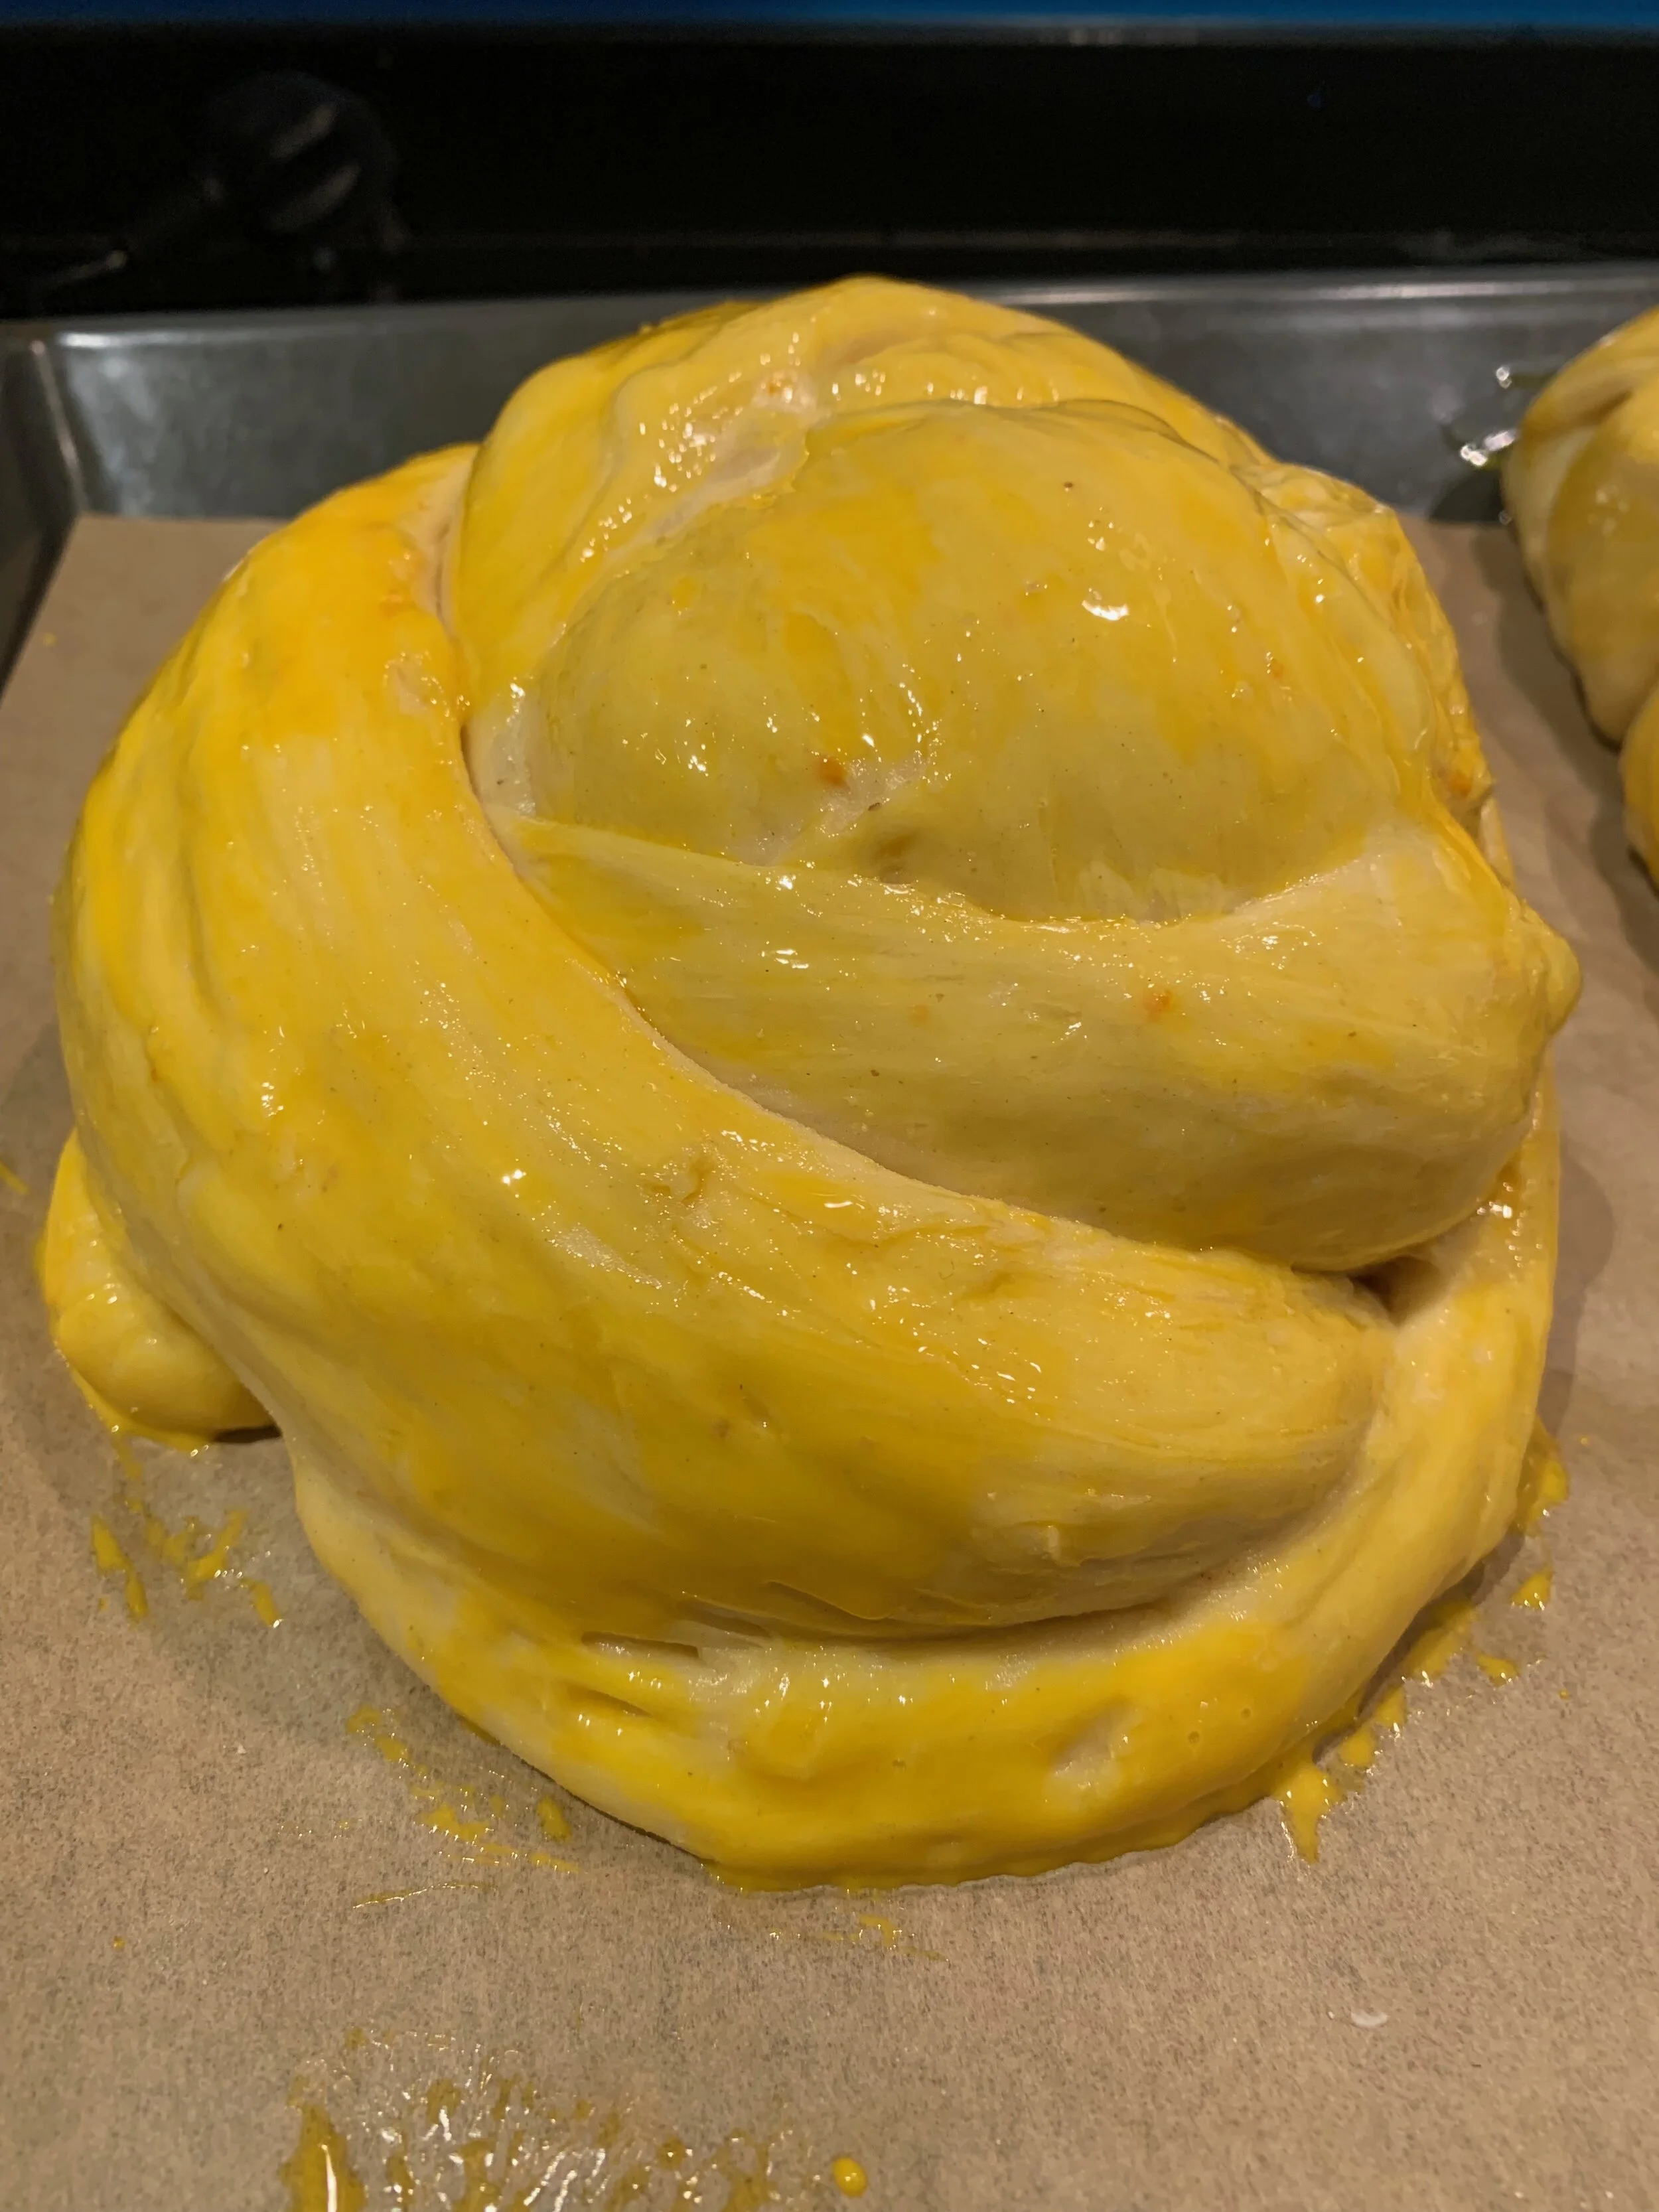
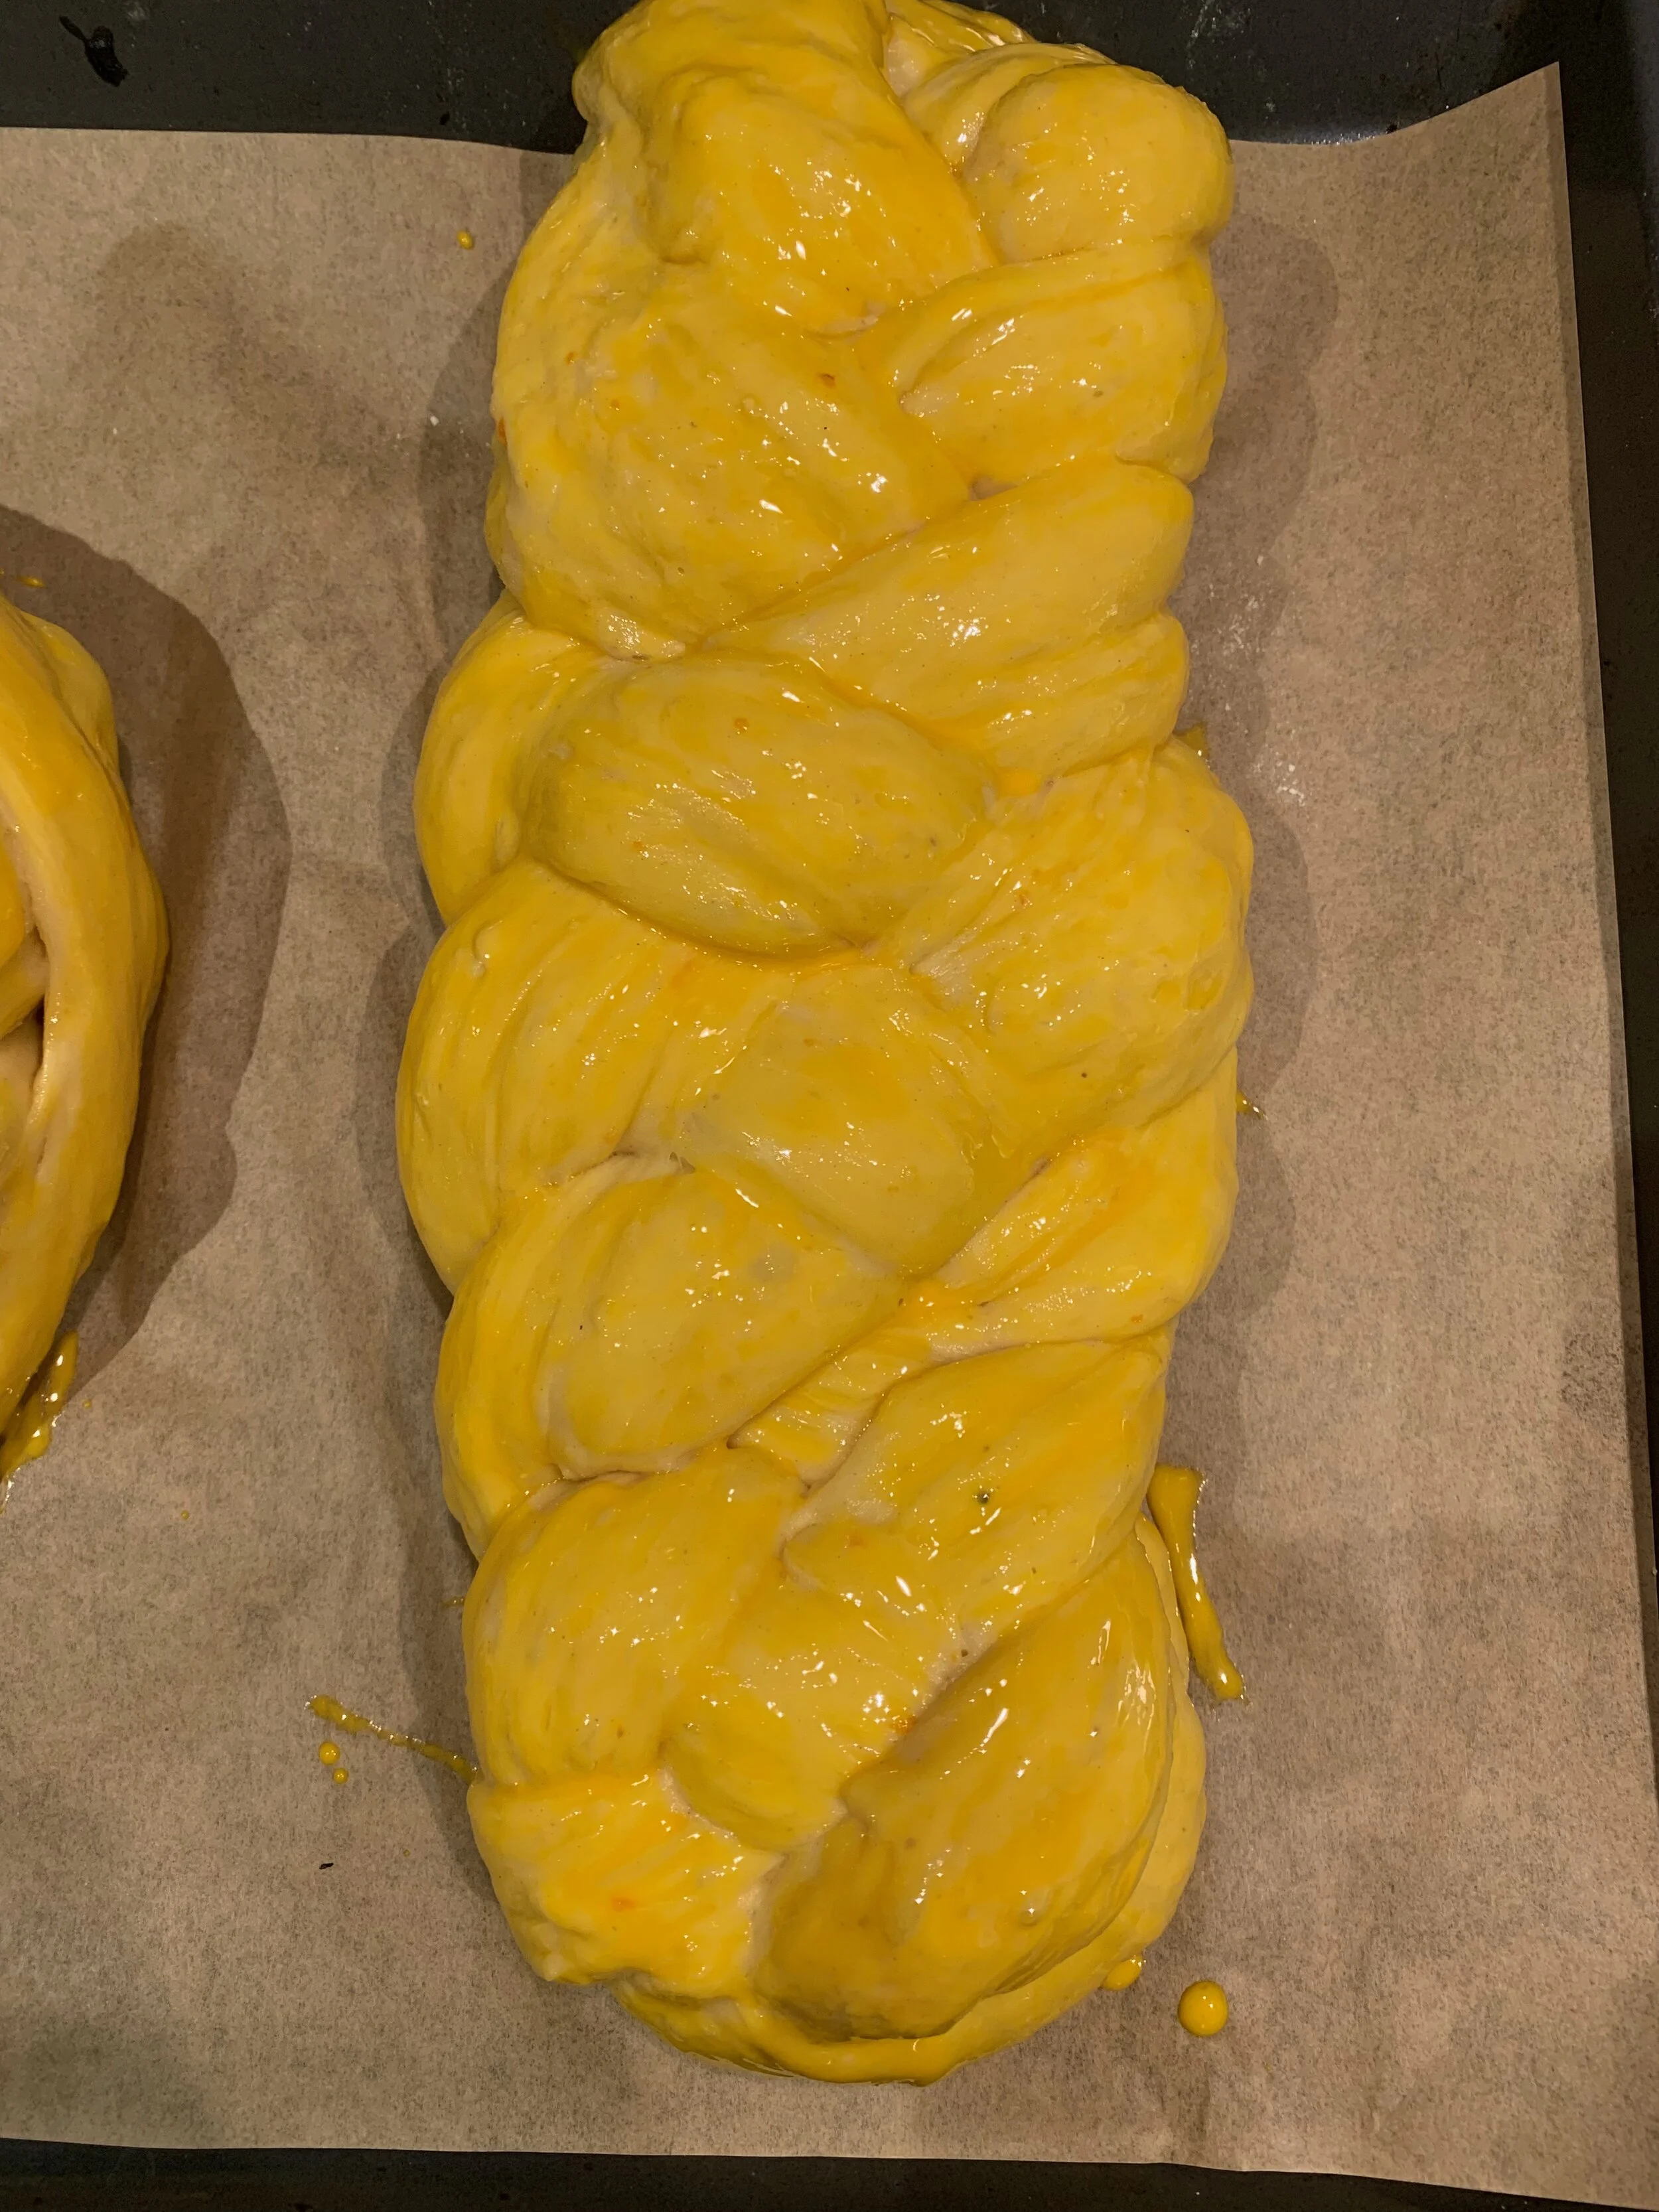
After 4 hours have passed, take it out of the bowl and proceed with shaping. Divide the dough in 2 and chose the shape you prefer. Tsoureki is normally braided. My favourite shape is a 4 strand braid and with these quantities I normally get 2 medium braids
The dough will be a bit sticky (the joys of fatty enriched dough). You can lightly dust the surface you are working on but try to use as little flour as possible or it might interfere with the softness of your final baked tsoureki
The easiest way to obtain even strands is to place your dough on a very lightly dusted surface and gently stretch it with your hands. Stretch it the same way you would stretch pizza dough to fit your baking tray. In this way try and obtain a big rectangle and with a knife simply divide it in 8 strips (if you are doing 2 x 4 strand braids) that you will then braid.
Once the braids are ready, place them in a baking tray and cover loosely them with cling film for the final proof. This will take somewhere between 45 min to 1.5h. The hotter your kitchen is the faster it will prove. It’s ready when the dough is puffed up, almost doubled in size, it’s jiggly and when you poke it with your finger it should leave a tiny indent before springing back
Preheat the oven at 180C and place an empty deep baking tin at the bottom of your over
Bring a kettle to boil and add the boiling water in the tin at the bottom of your oven
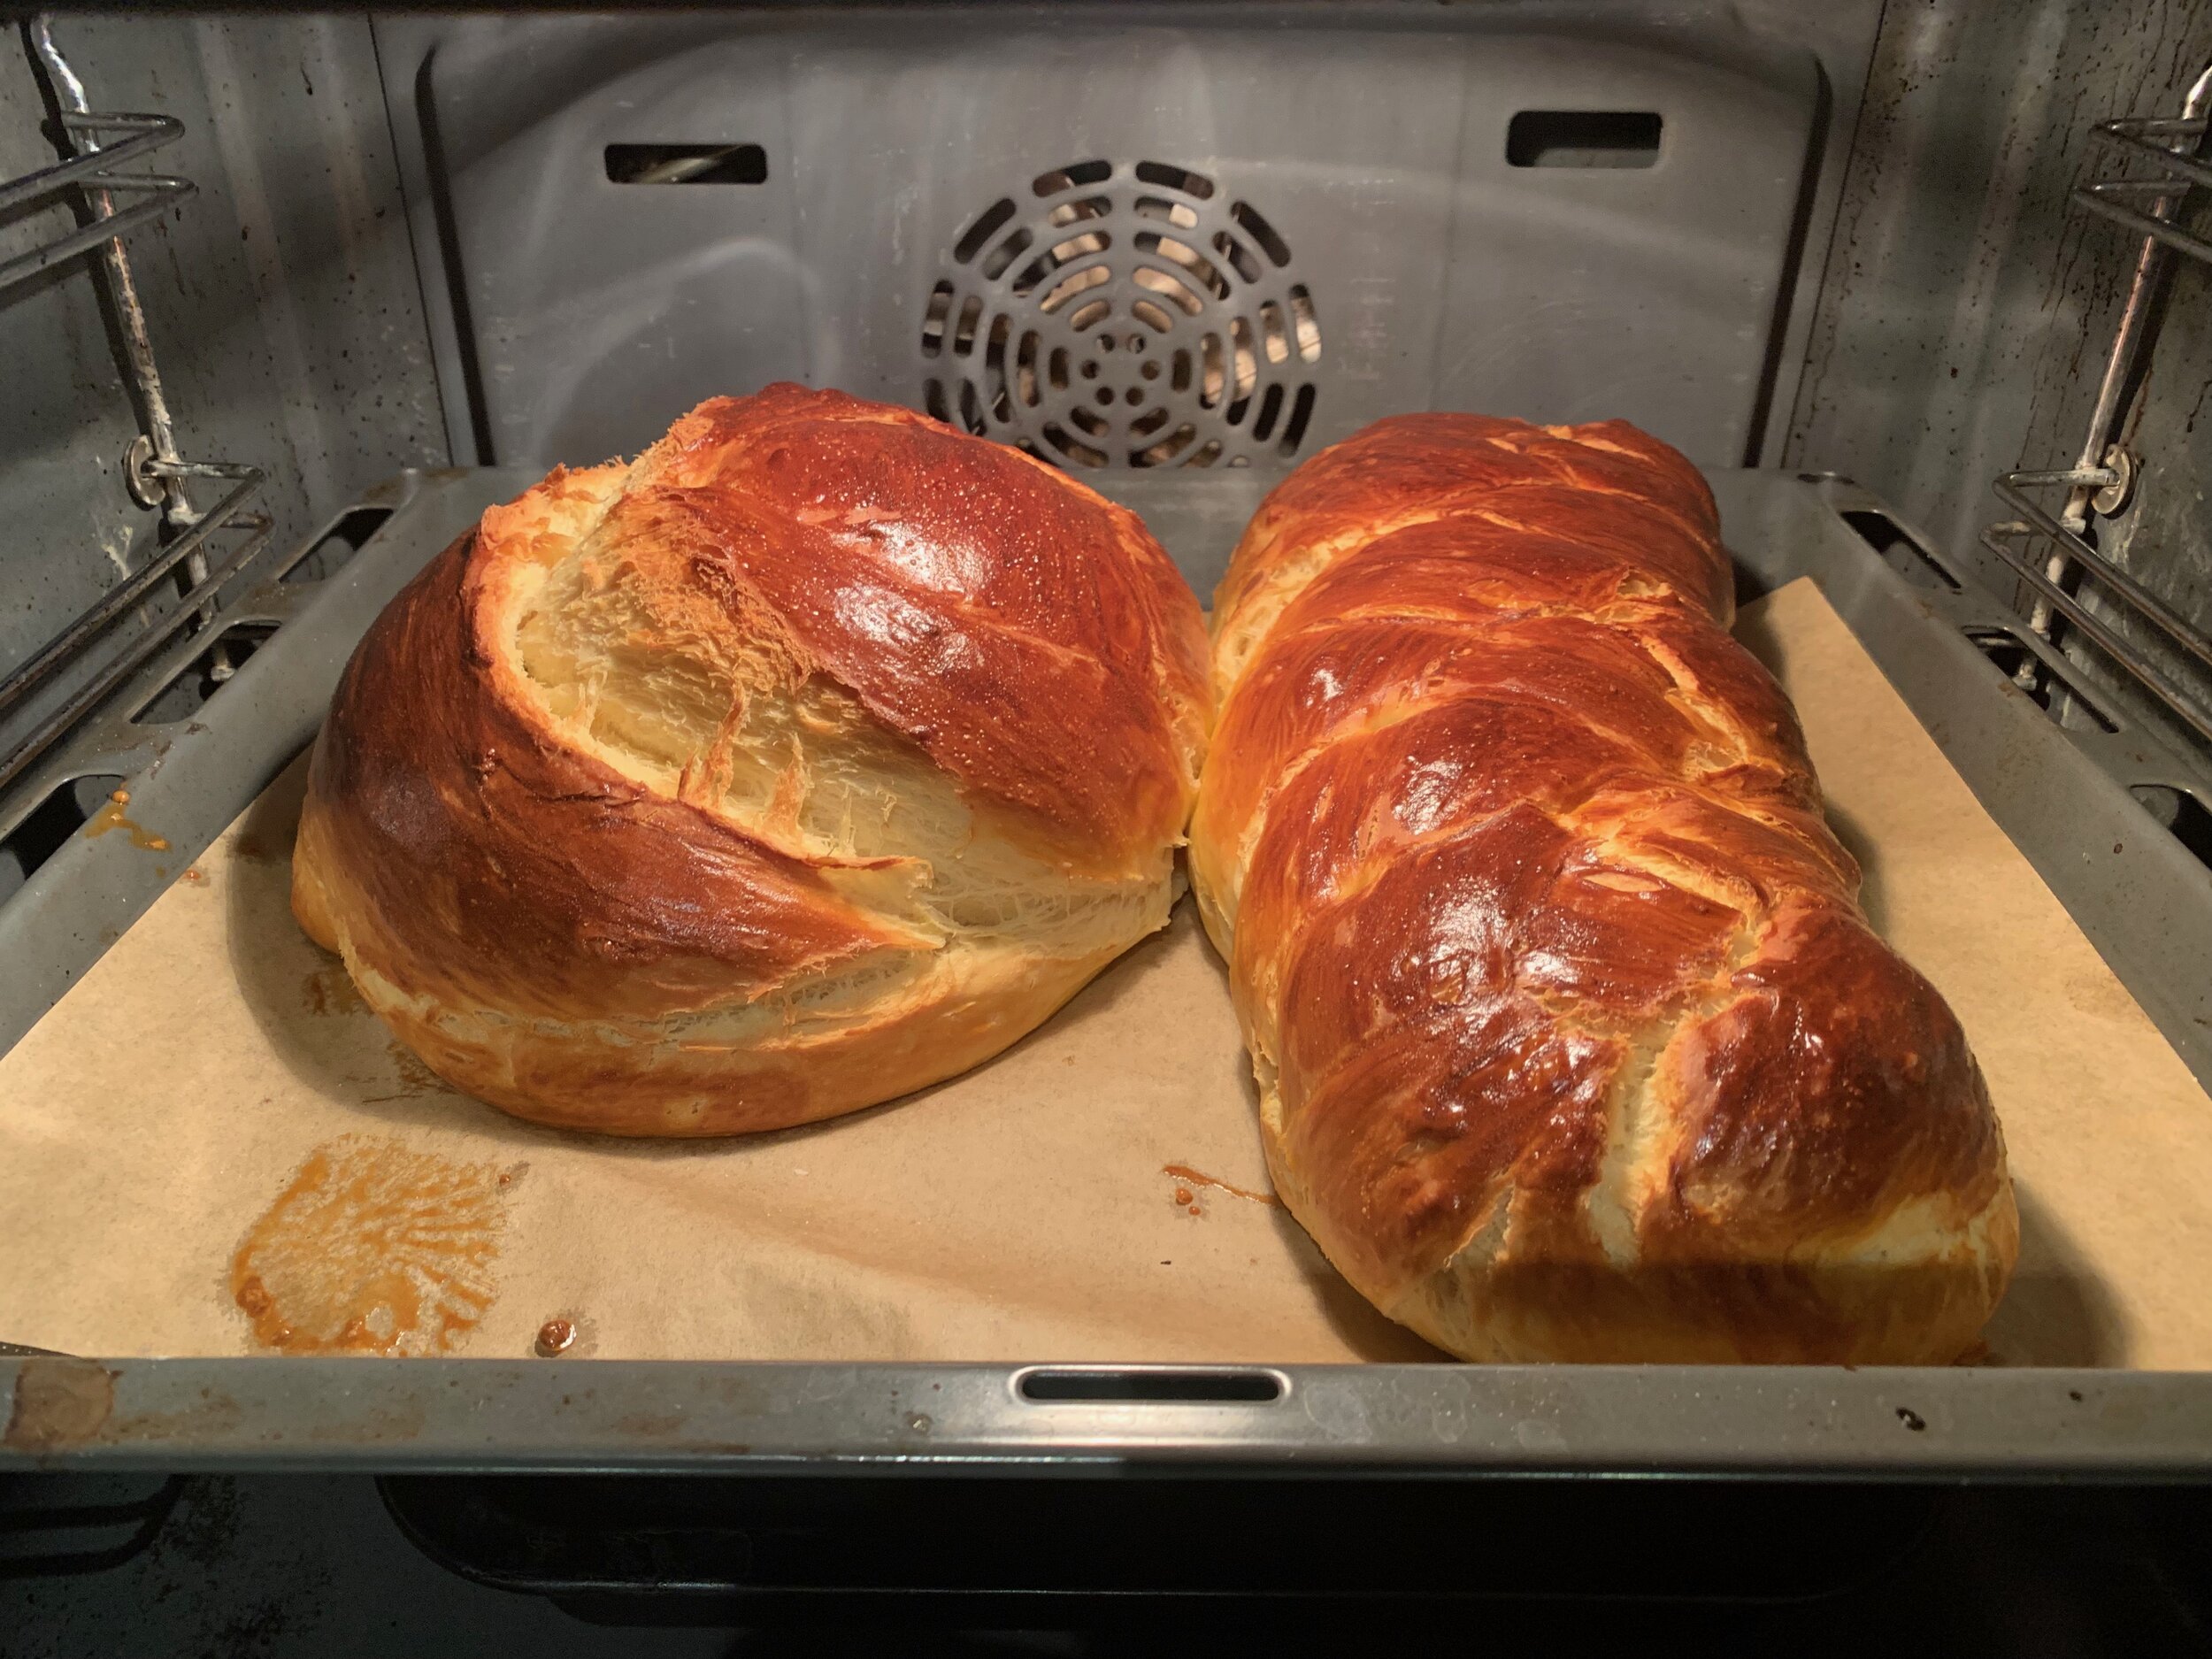
Now egg wash your braids and bake them in the oven for roughly 35 to 40 mins. The baking time will depend also on the size of your tsoureki

Tips & Cheats - The gluten edition
Always observe your dough and notice how it changes to your touch and visually.
Water is what activates wheat proteins (glutenin and gliadin) to combine forming gluten. The more your gluten is developed the stretchier and elastic your dough will be. In other words If you want to maximise gluten development you will need water/liquid.
The hydration of the dough is what will aid the gluten formation. Hydration is not given just by water but also by any other liquid you introduce to your recipe (milk, tea, juice) and only partially by eggs and butter (these also contain fat!).
The opposite happens with fat. The butter will form a coating barrier that will prevent the gluten proteins from combining. For this reason you will: a) Need longer mixing times b) You add your butter at the end and after mixing for around 10 mins to ensure gluten development before the butter is absorbed by the dough.
It is important that you allow the gluten to develop or your bake won’t have structure. When you mix the dough you will notice that after a while it will become tighter, smoother and it will start detaching from the bowl. The sides of your bowl will be clear and with less residues. This is a signal that your dough is nice and ready. If you want to check if you’ve got optimal gluten development you can do the windowpane test: hold a piece of dough between your two fingers and stretch it. If it stretches without breaking and turns into a see through membrane it means you’ve passed the test and your gluten is strong.
If you are struggling to shape a dough just put it on the side and let it rest covered for a 15 mins. The gluten will relax a bit and you’ll be able to give the desired shape.
Judging the proving is a skill you will pick up the more you bake. Things to look for here are the increase in size and the poke test. If you are using yeast your dough can easily double or triple it’s size. With sourdough is a bit of a different story bu, we can talk about it another time. The poke test is literally just a gentle poke with your finger on the surface of the dough. If the dough springs back fast it means it still needs to grow. If it spring backs slowly and in a lazy way it means it’s ready to go! If it doesn’t spring back I am afraid you’ve overproofed your dough.
If you are left with overproofed dough you can save it by degassing it. All you have to do is firmly press your dough down with both your hands the let the air out. Reshape it and let it proof again. This method only works for yeasted dough; don’t try with sourdough: it won’t work!